Noticed a few posts on help so I decided to share my process and what worked for me.
1. Apply a strong paint remover (Crown - Tuff Strip is what I used) to the desired areas. The type I used was gel like, highly recommended to not make a huge mess.
2. Let the solution sit for a few mins. As its sitting I also used a needle to scratch away some paint that the remover wasn't quite bringing up. DO NOT LET THE REMOVER GET NEAR THE HOSEL OR ANY PLASTIC PIECES!!!!!!
3. Rinse well with water, wipe with towel, clean with acetone.
4. Be sure areas or paint free, and cleaned very well with acetone / paint thinner. I took q-tips soaked in acetone to each area.
5. I found a small plastic syringe type bottle at my local craft store to apply the paint. Worked out very well.
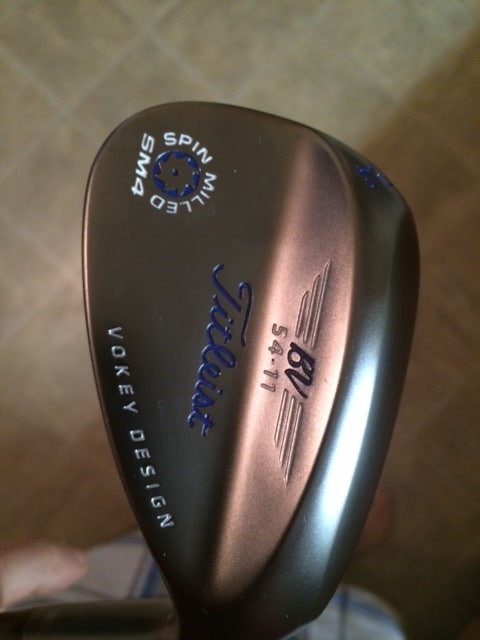
6. Apply paint in desired areas. Try to keep the paint in the engraving as best as possible, but don't worry about getting the paint only in the engraved areas. Everything outside of the number / words will be removed later.
7. After letting paint dry, take pieces of paper towels slightly dipped in acetone, lightly rub across areas where paint has gone over the edges on the number / words. One swipe with the paper towel will remove some paint and smear if used again. So use plenty of new, clean pieces. Also wait a little bit between each swipe to prevent from getting too much acetone on desired painted area. Too much acetone will make the desired areas look almost bubbled, not glossy. Be careful not to swipe the removed paint into a previously painted area.
8. Try and try again. Remember, if it doesn't look great the first time, its only paint. Keep trying. Just be patient when removing the paint. Light swipes, dry period between each swipe.
If anyone has any questions, or tips, post them! I am sure the are plenty others than me willing to help you out.